
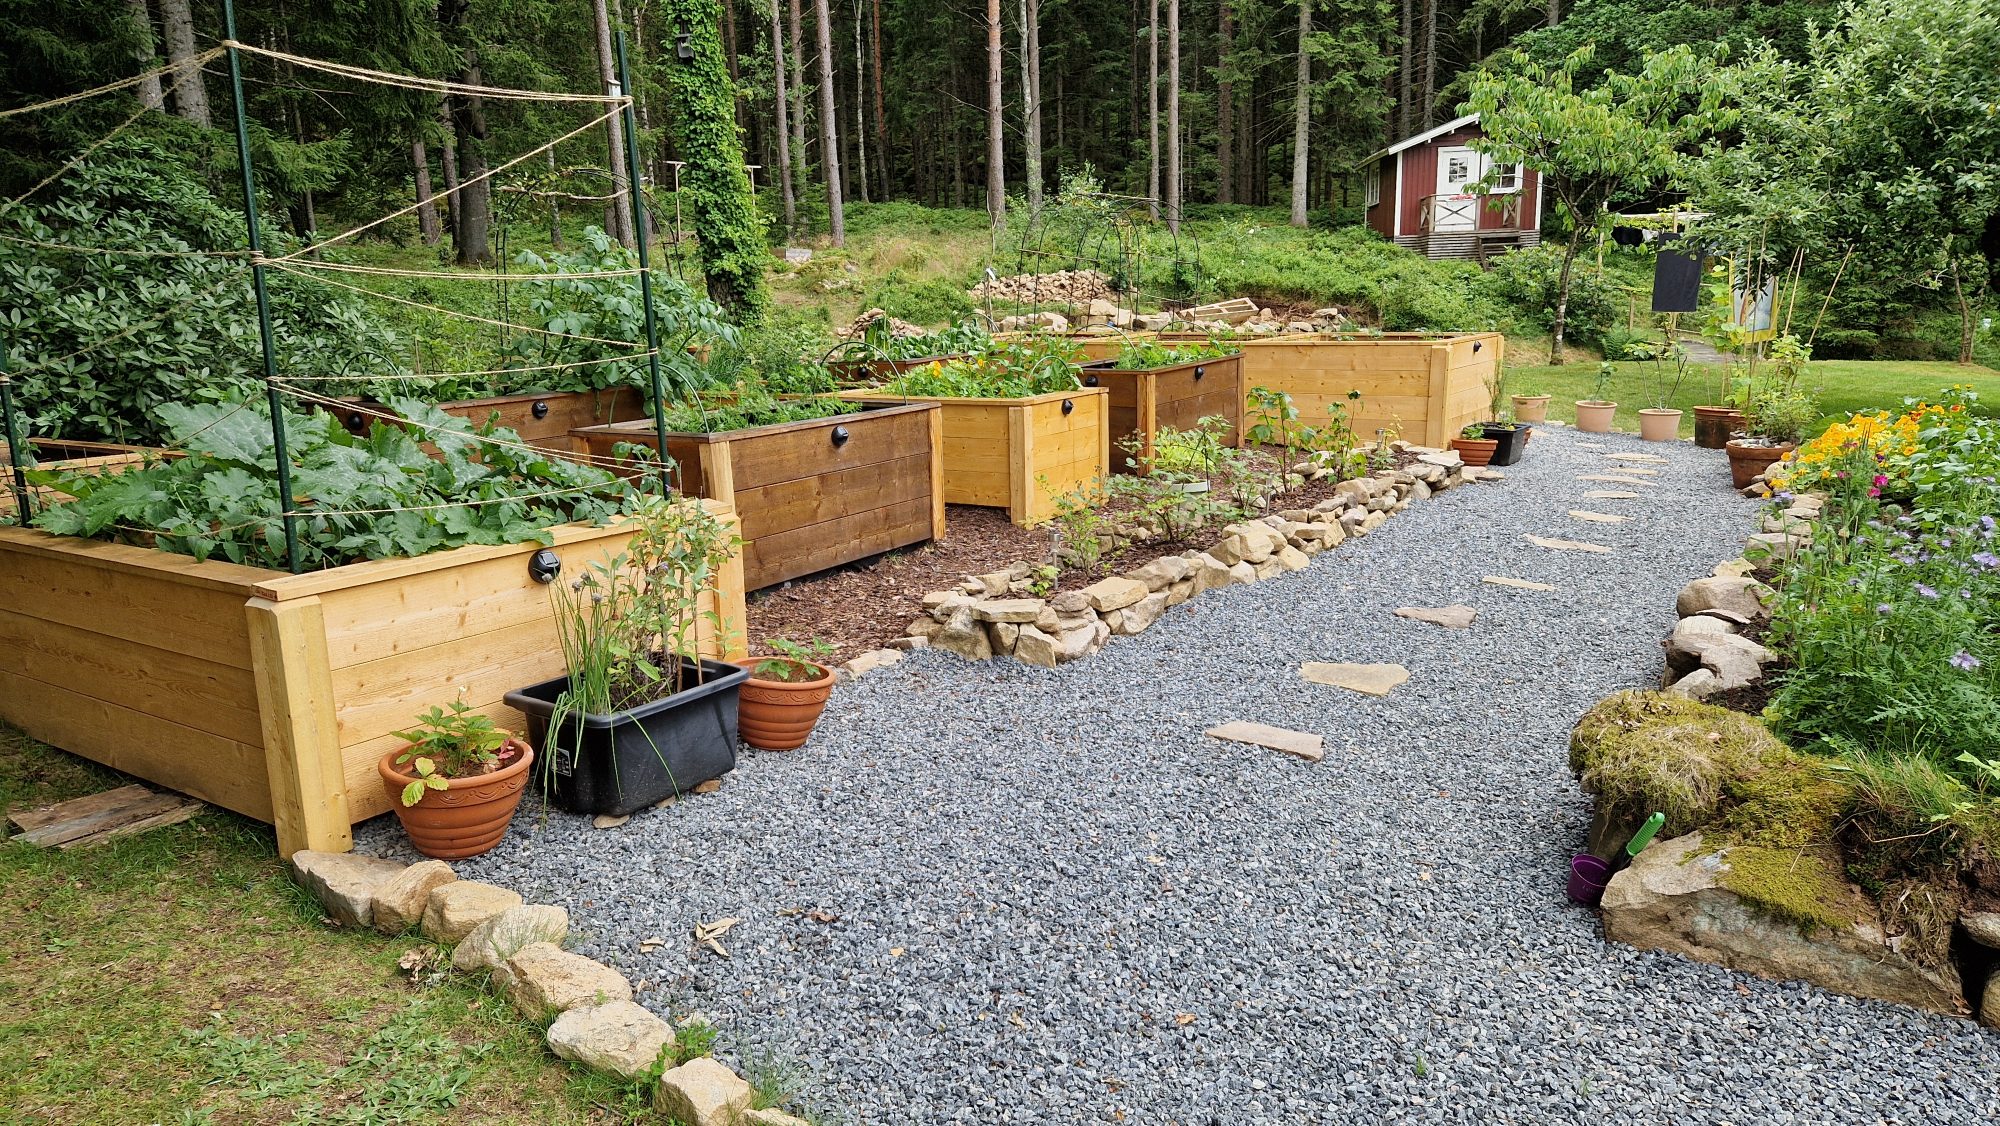
After our first for raised beds we noticed that the ones that we created were a bit small. Good for spices and some greens but most definitely not for a bigger production. So I started to think about a new raised bed design.
Luckily, I had the opportunity to get some transport pallets for free at work that were not treated with chemicals. The idea was to use that wood for free to build a proper, bigger raised bed that holds and looks good. The last part was tricky, That wood is never really aesthetically nice and usually it means combining different pallets that have different color, quality, or dimensions.
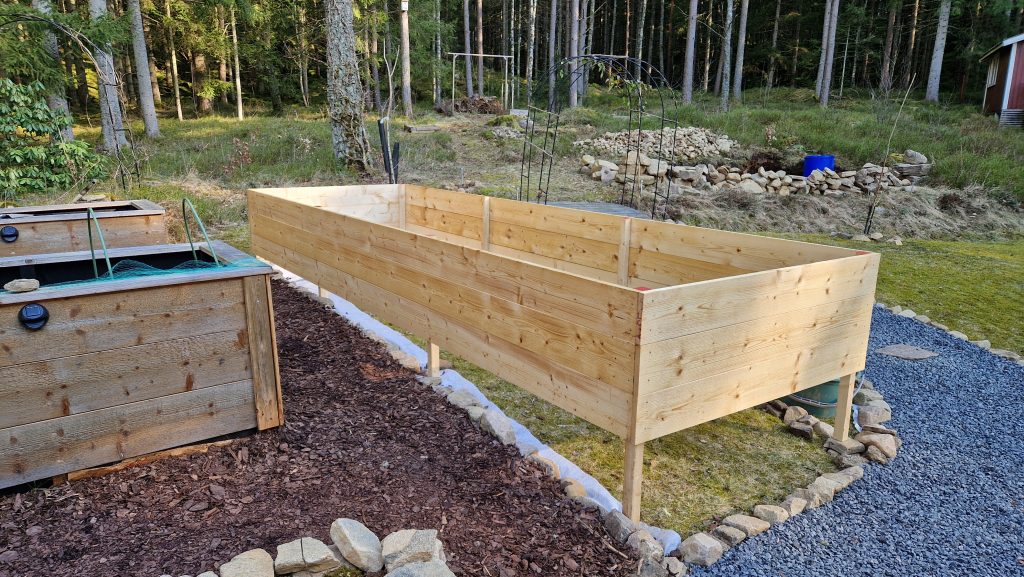
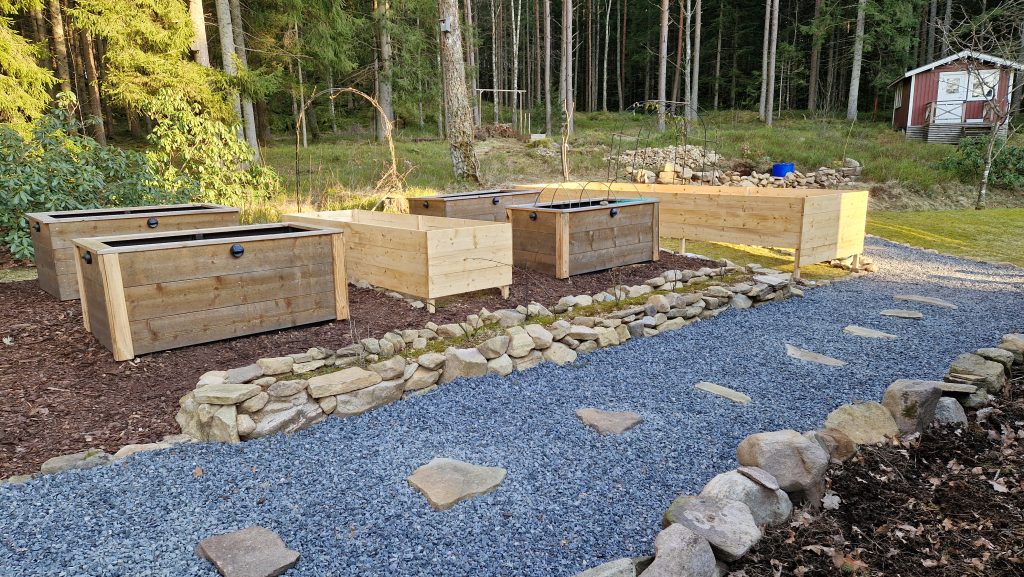
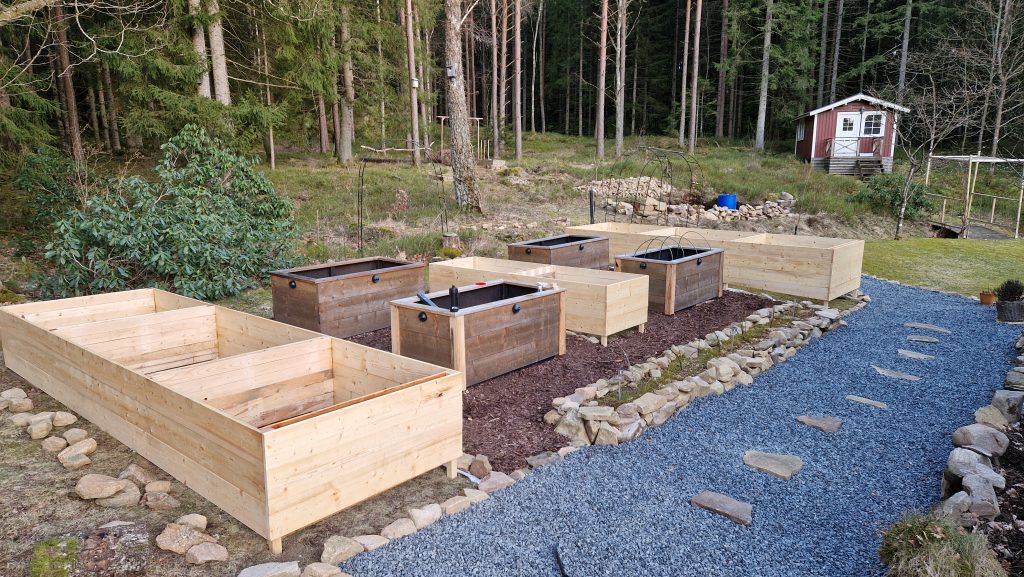
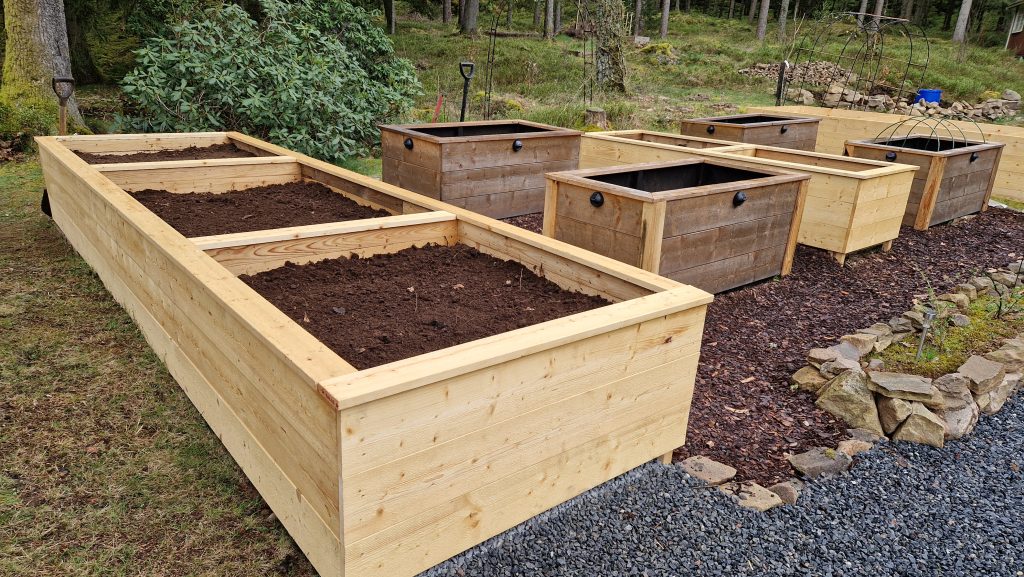
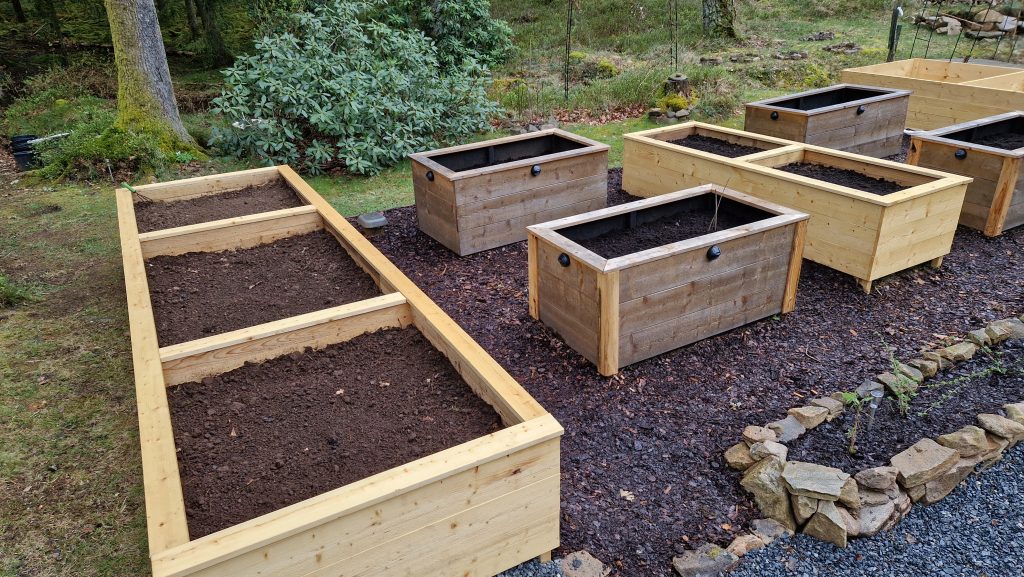
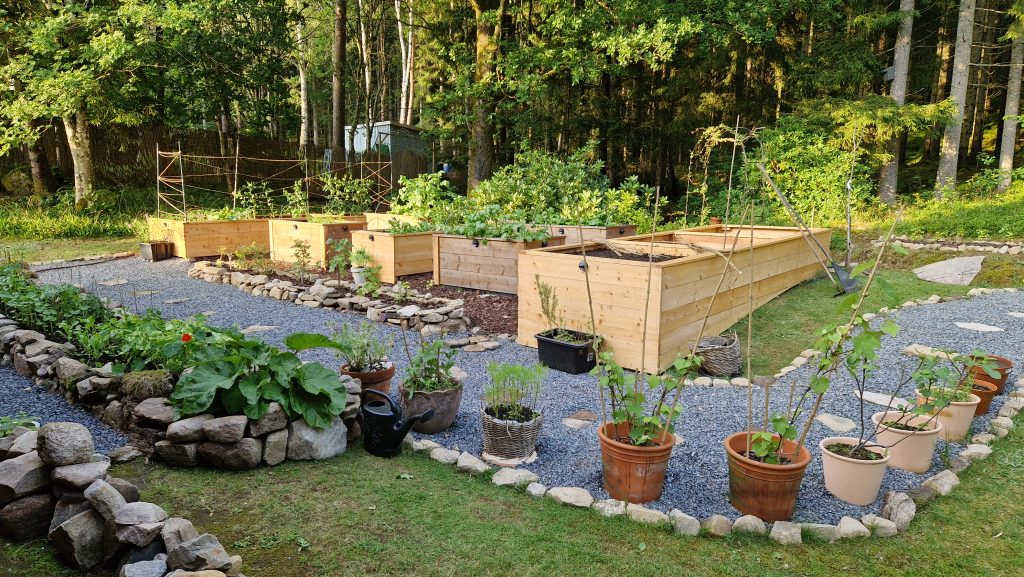
I started to think about different designs and at the end just one made sense to me. I decided to build three long raised beds divided into three sections. The build would have two layers, one on the inside made using the pellets that would be treated with raw linseed oil and the on the outside I would build a similar layout as for the previous four beds using nice looking boards that would be treated with raw linseed oil as well.
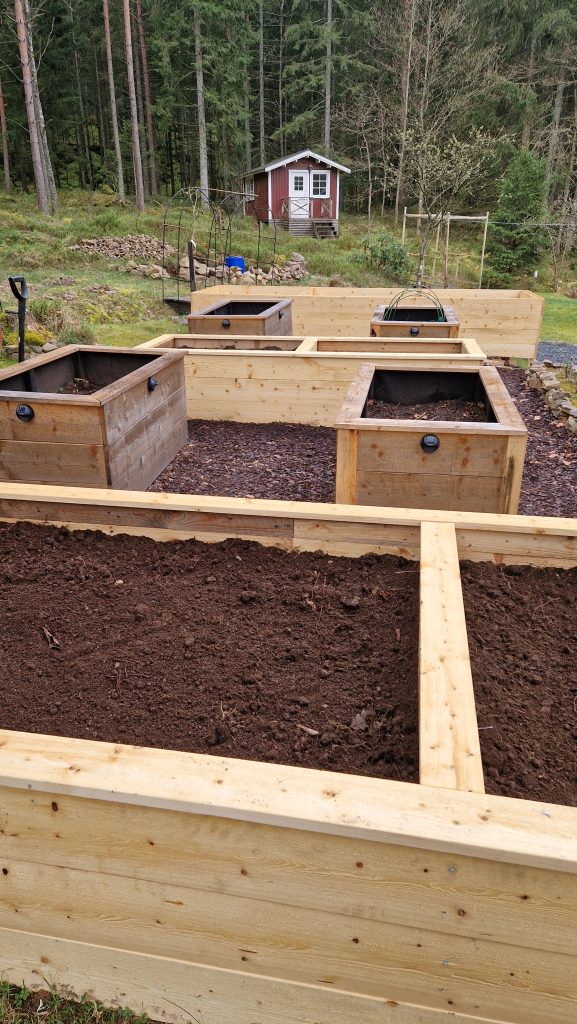
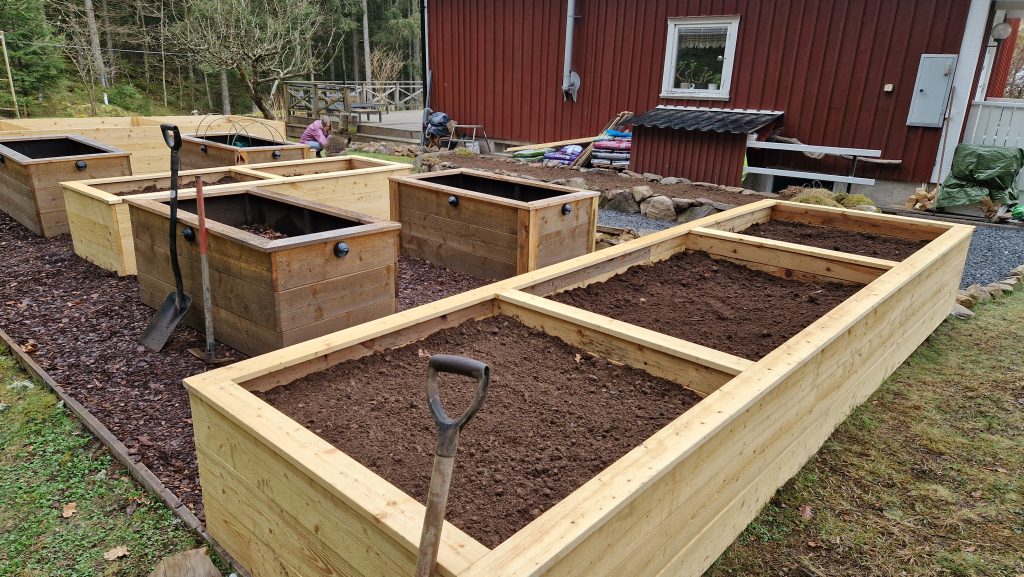
In the middle of those two there would be a 5cm air gap that would function as isolation: in the winter to prevent the soil to freeze too much and in the summer to avoid the soil to dry too fast. The beds would have two middle sections that would both divide the beds a bit better but most importantly provide structural integrity thus avoiding the beds to swell and break. Hopefully the setup would provide as well a better structural stability and last for more years than the initial for beds made by a single board. Time will tell.
I used a huge amount of soil mixed with stones that i took from the nearby hole that I was digging for the green house. That layer was used to fill approximately 50% of the beds. Than I used a much better soil that has almost no stones at all from a natural well that I started to enlarge a bit where in the future a natural pool will be placed – hopefully with a nice design.
Anyhow, the last layer of soil was purchased and I opted for a biological one that had no chemicals and that was rich with nutrients needed for the plants to grow well. In the future I would like to produce my own soil as well. 🙂
Here are a few images that hopefully will get you a good idea of the whole process of this build. We are very pleased of the result now.
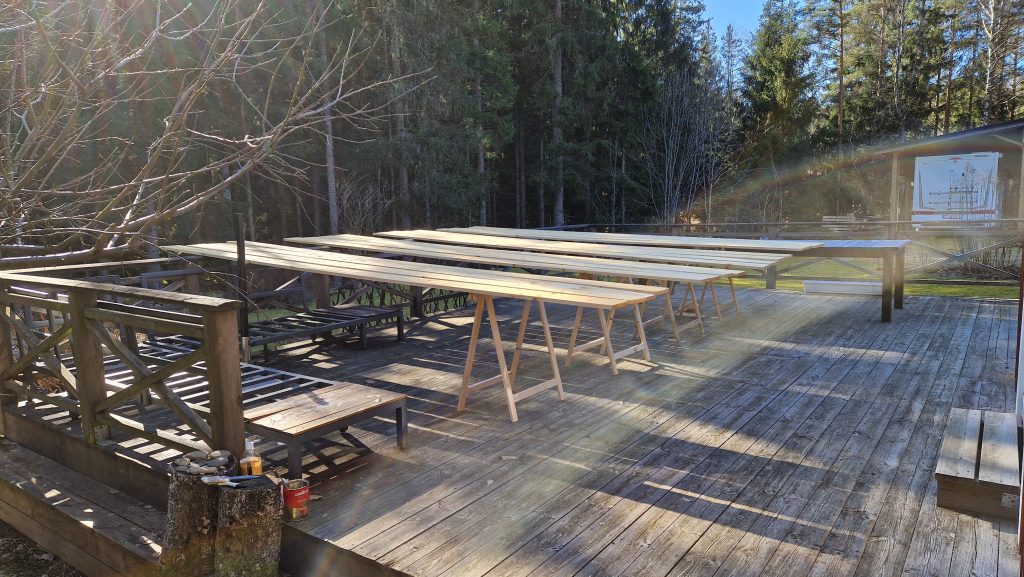
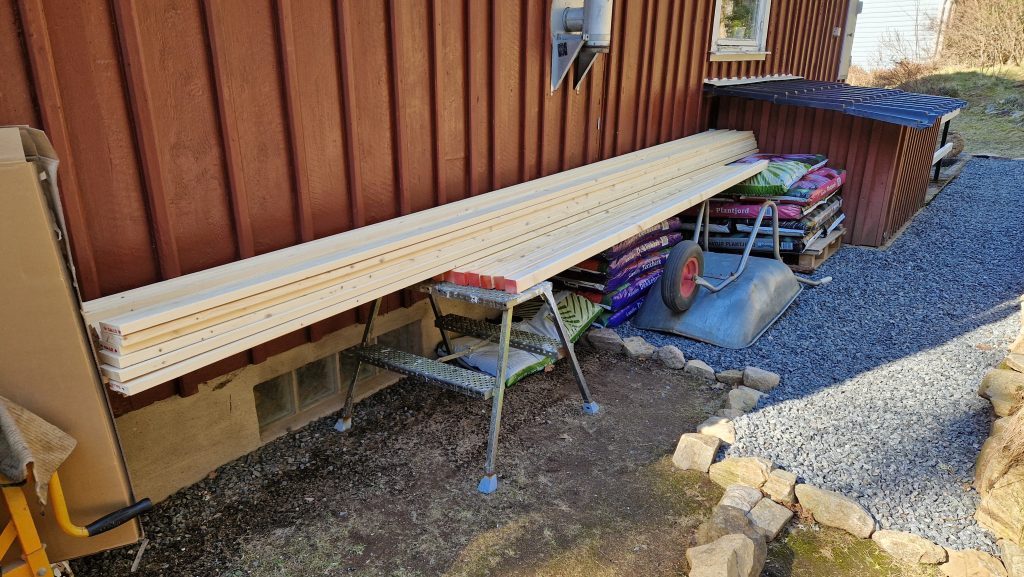
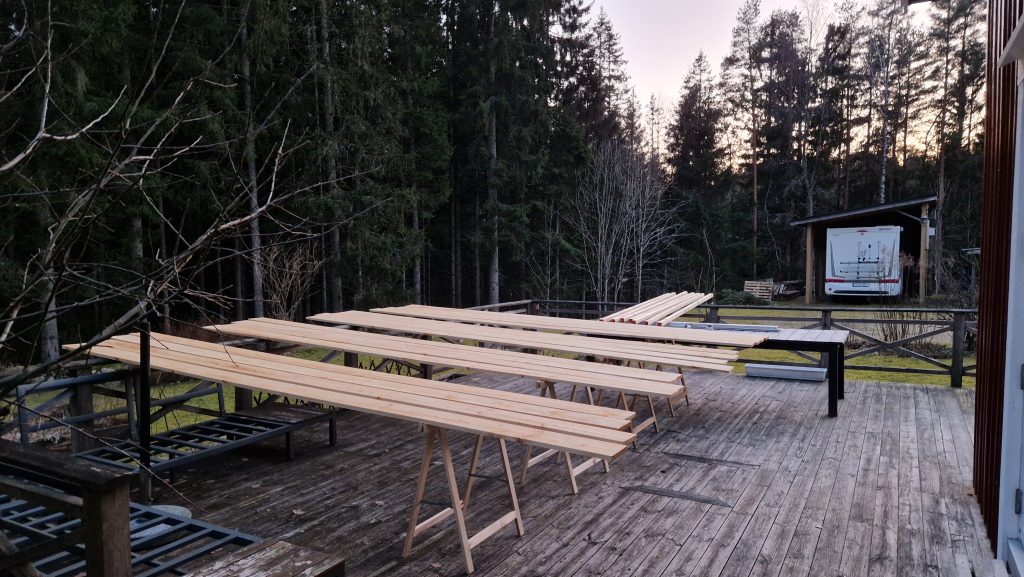
The purchased boards were cut to measure and treated with raw linseed oil.
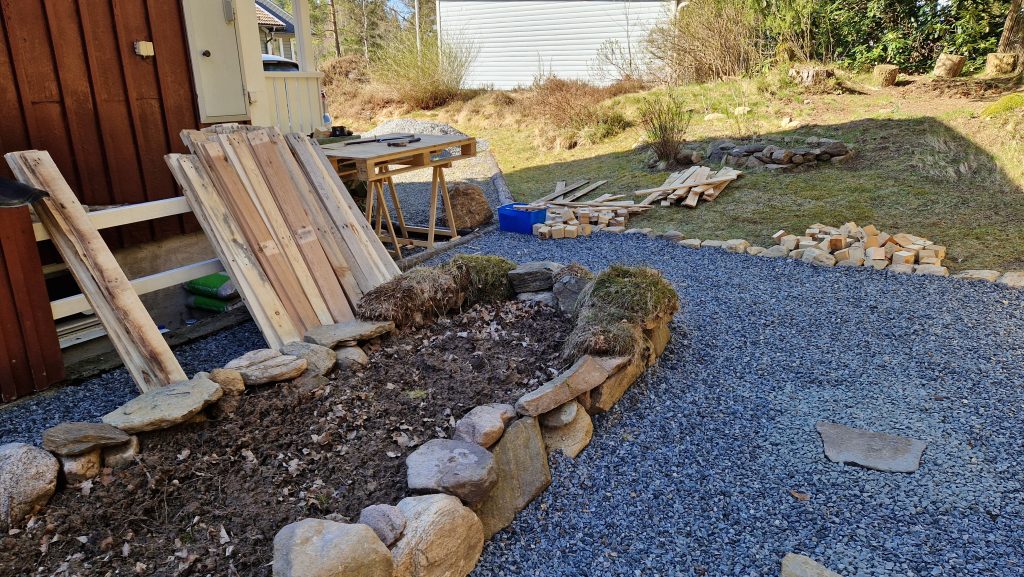
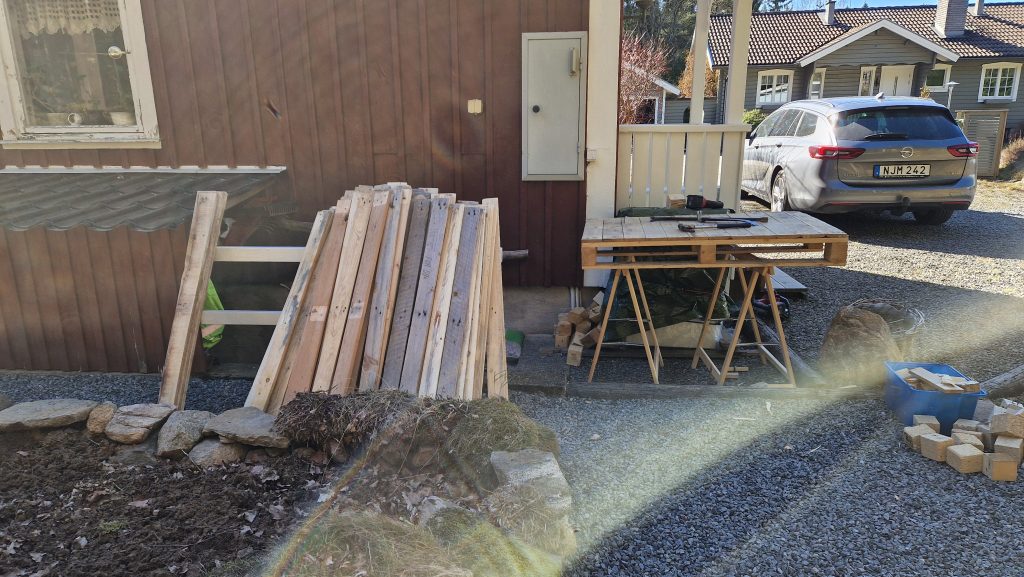
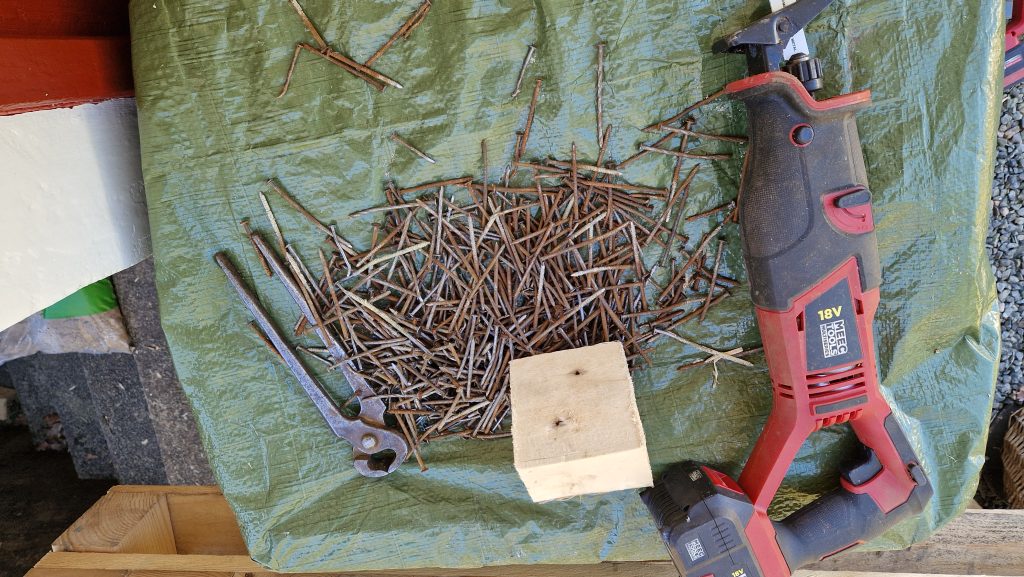
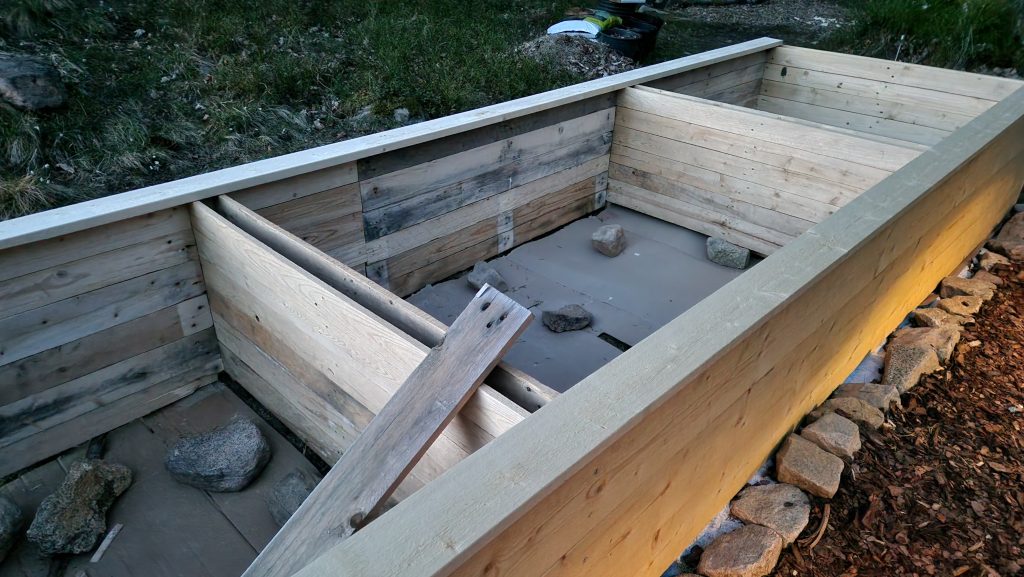
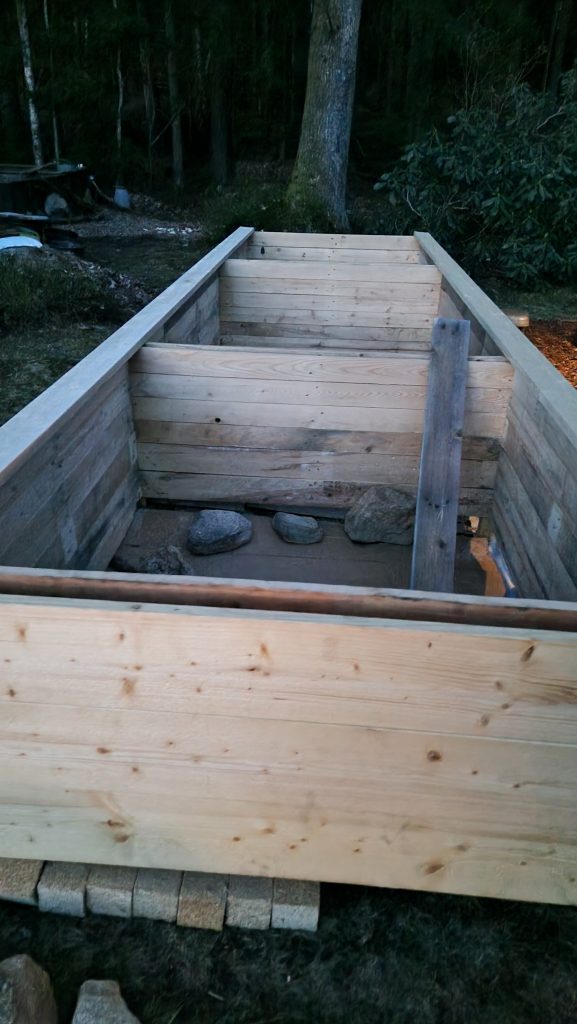
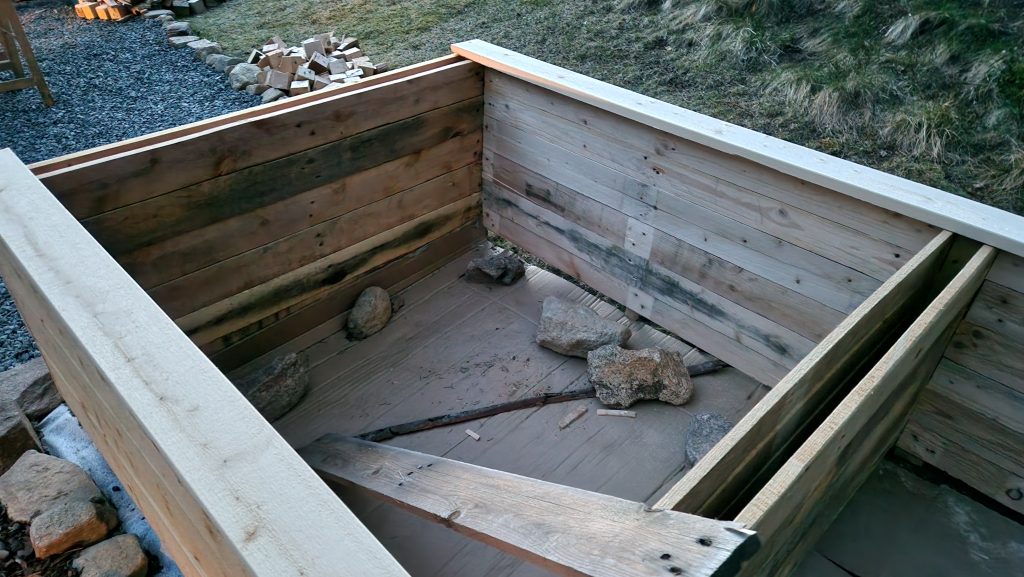
The last three images show you the progress of one of the raised beds. You may see how I build the bed and the inside of it using the wood from used pallets. I had to remove a ton of nails before putting it all together.
Once that I had everything ready I went ahead and painted another protective layer using the linseed oil.
I really hope that this kind of a solution will last because this was not an easy task to build all alone. 🙂
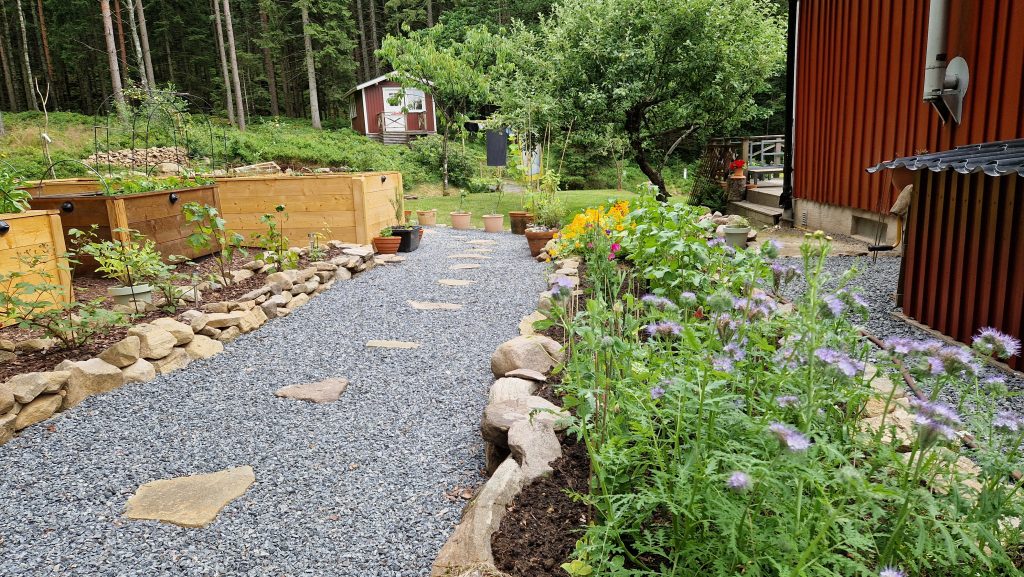
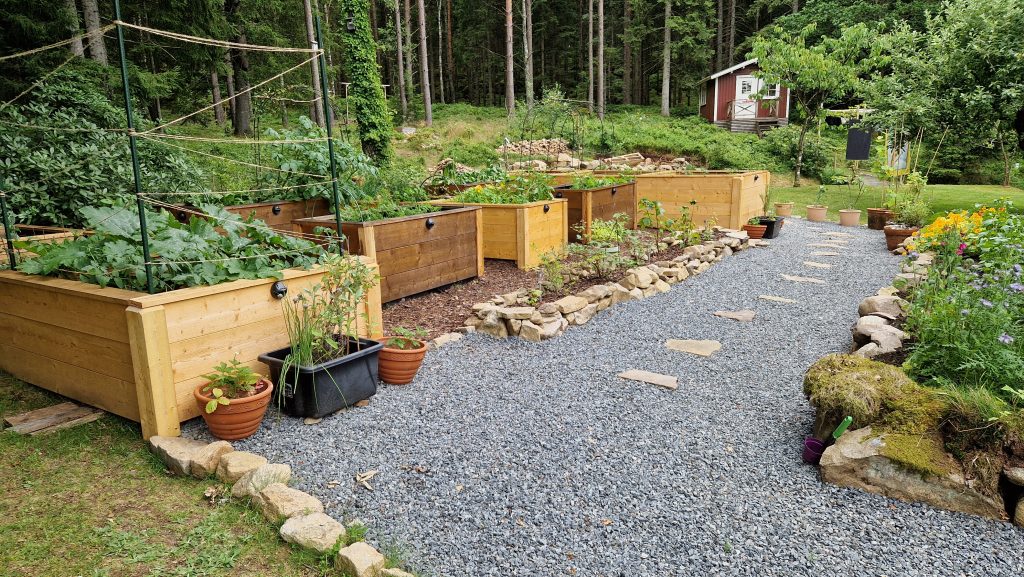
In the first top image below you may see a stone bed on the right. That one is intended just for the flowers that will hopefully attract all the much needed insects and make a pleasant scenery as well adding some color to the garden.
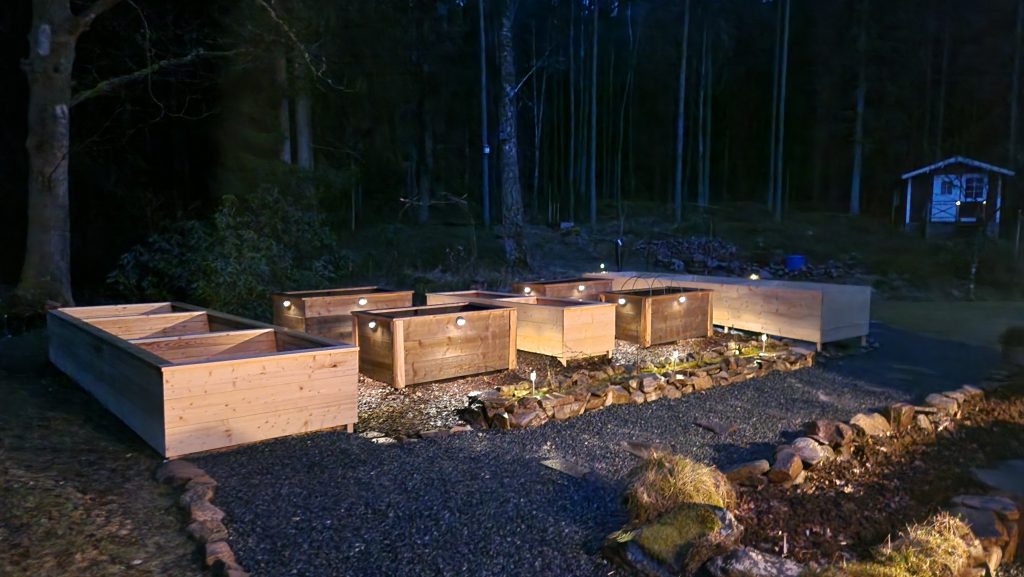
The three new beds were now almost ready, just a few more tweaks were needed.
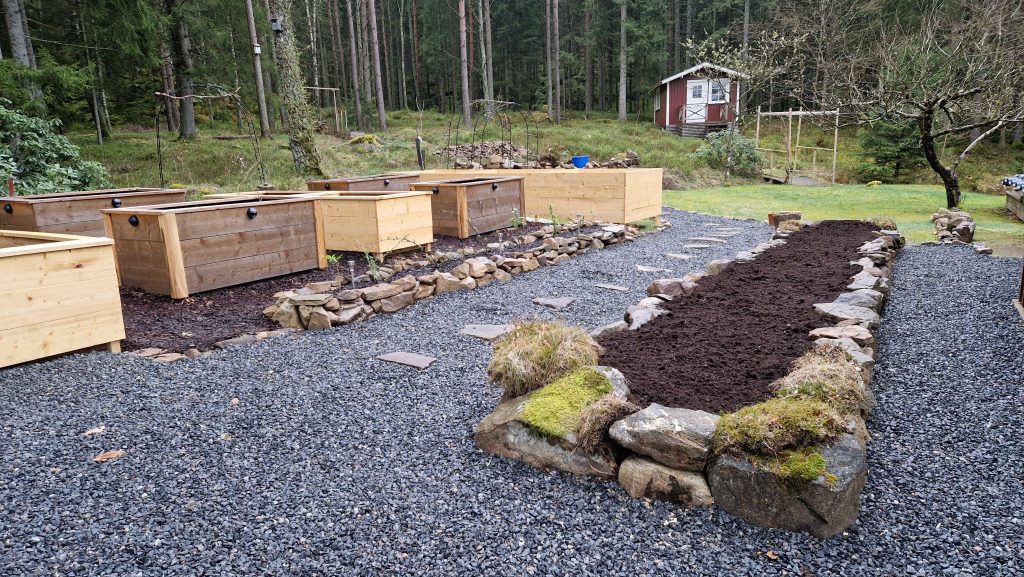
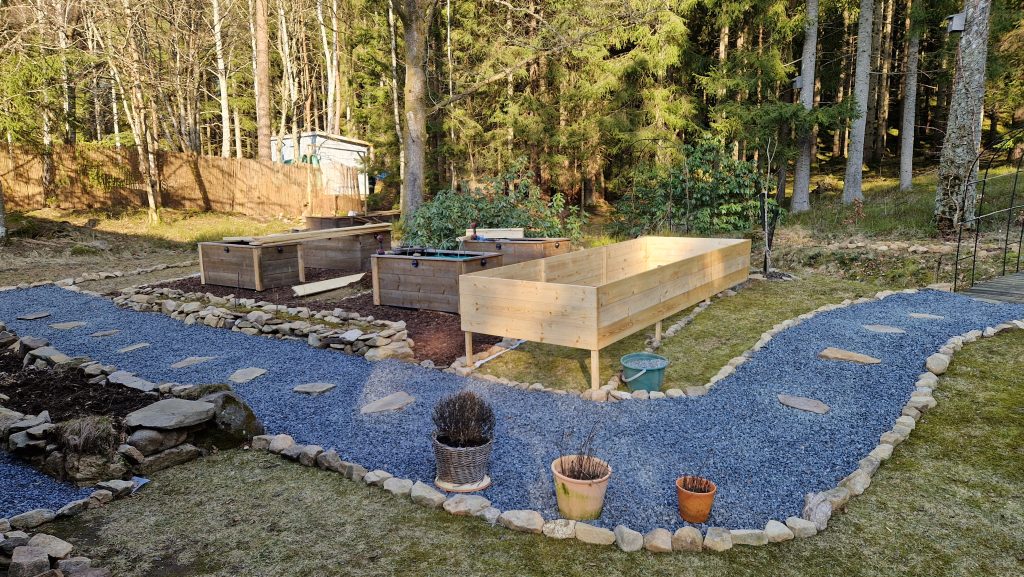
Time to fill the beds with some quality soil:
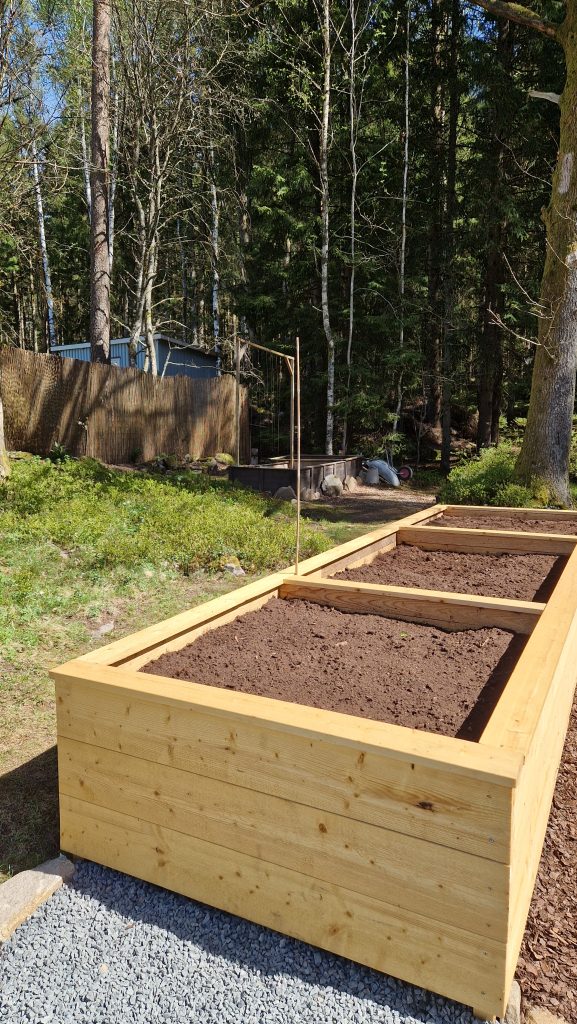
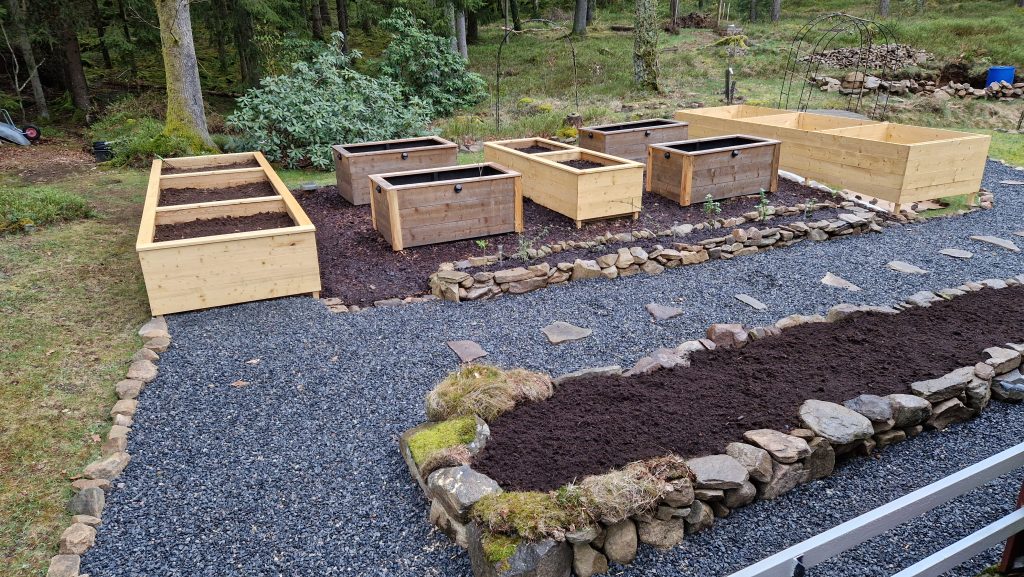
After a few weeks it was time for planting some fine veggies… 🙂
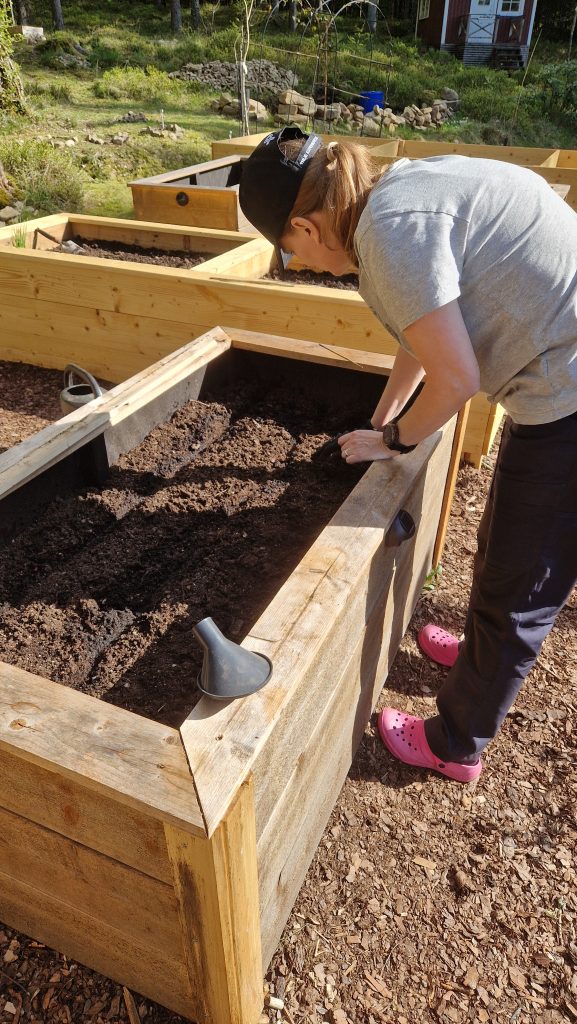
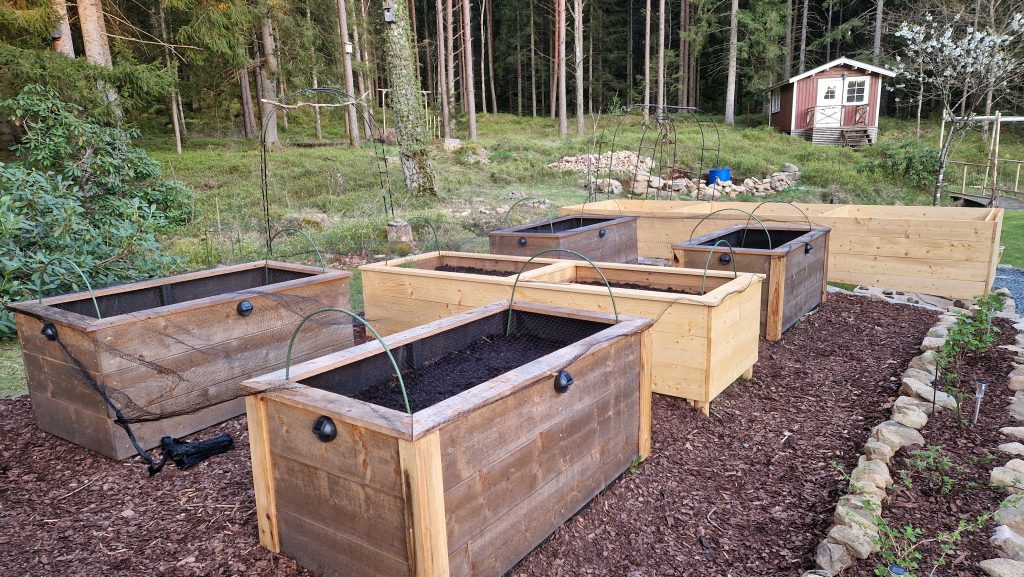
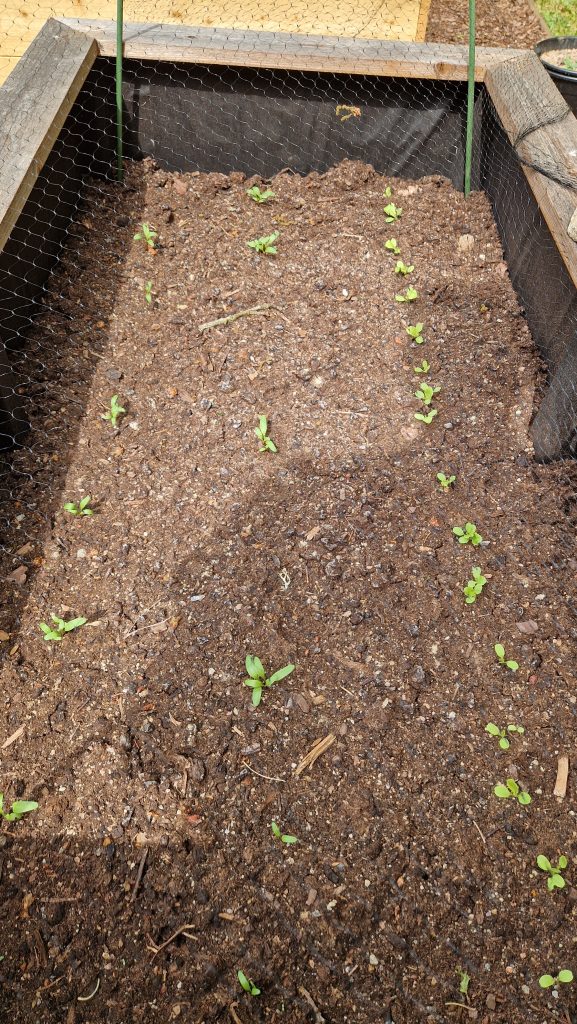
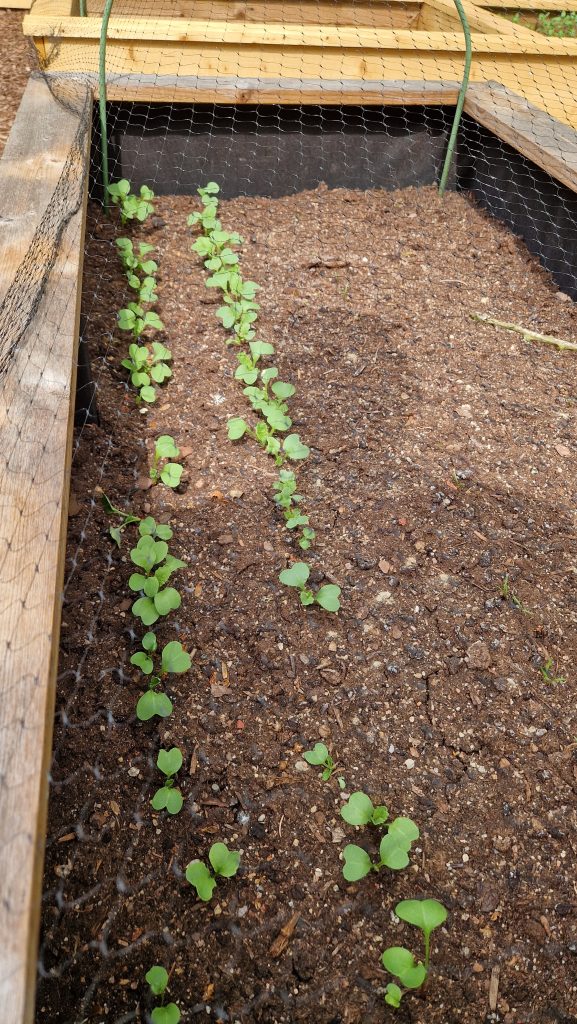
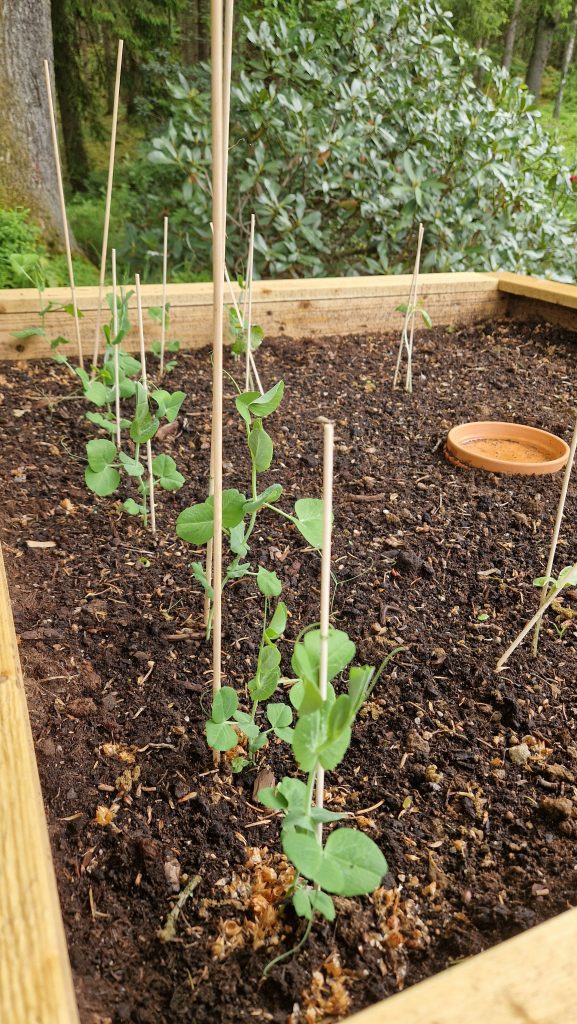
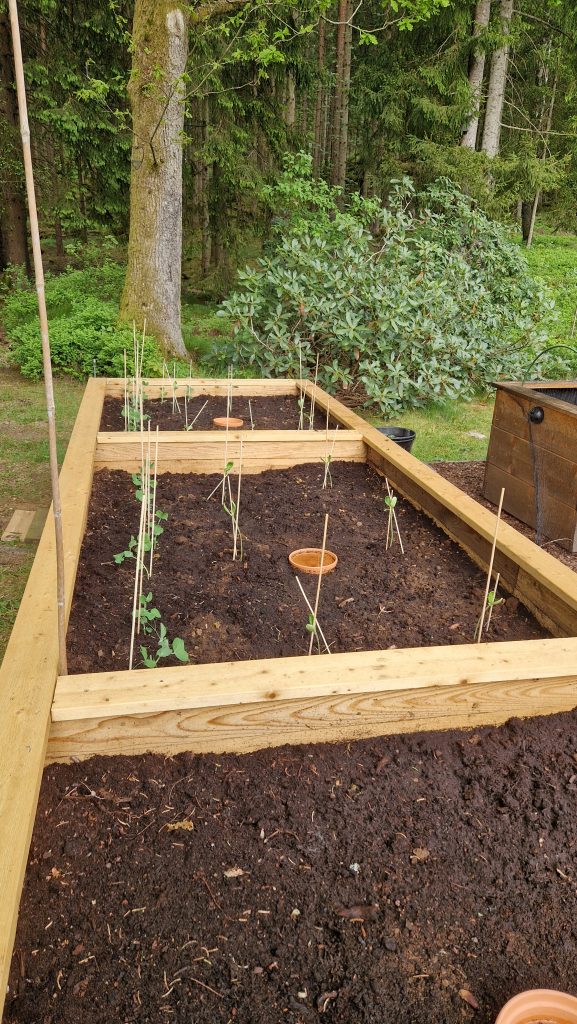
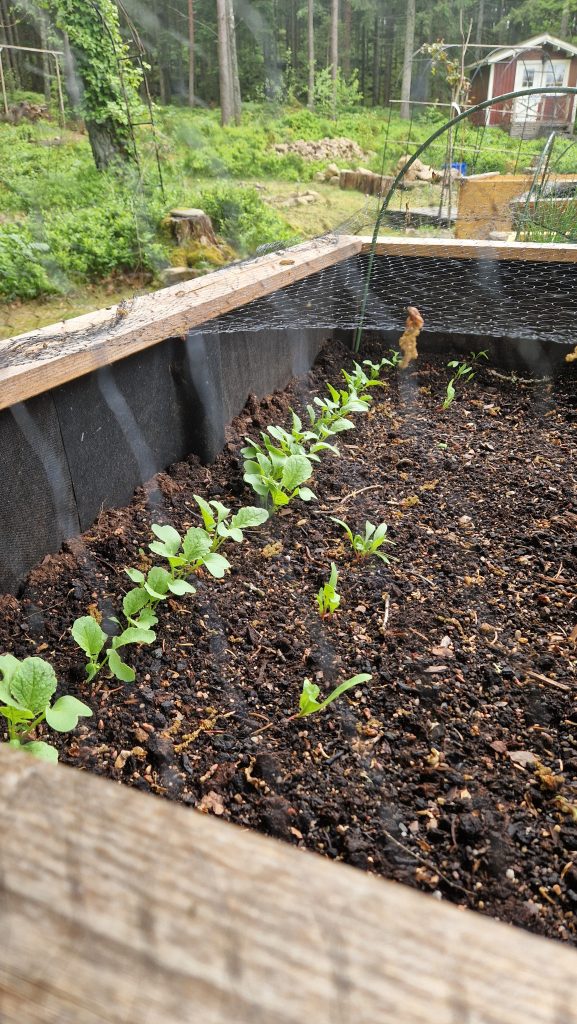
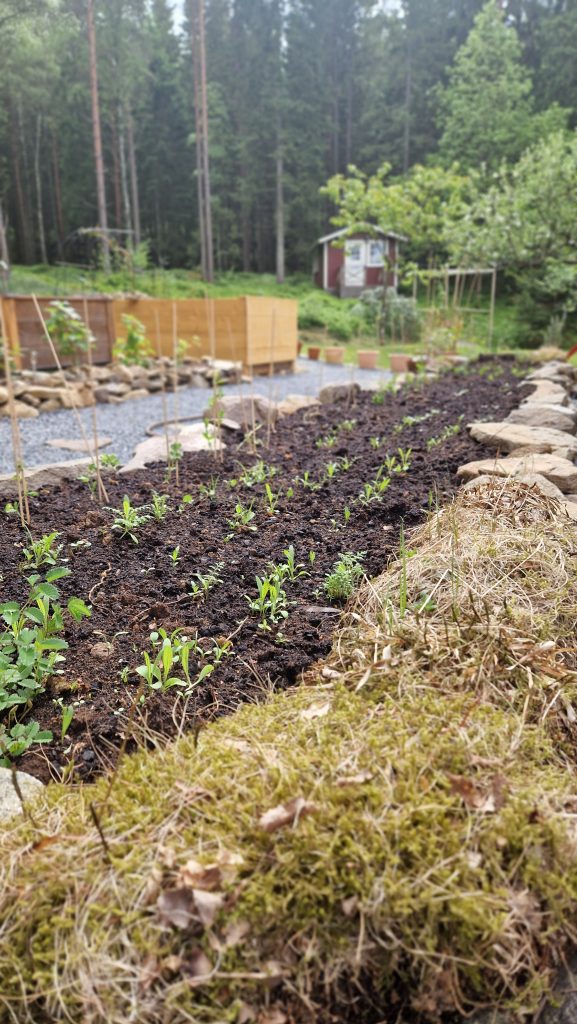
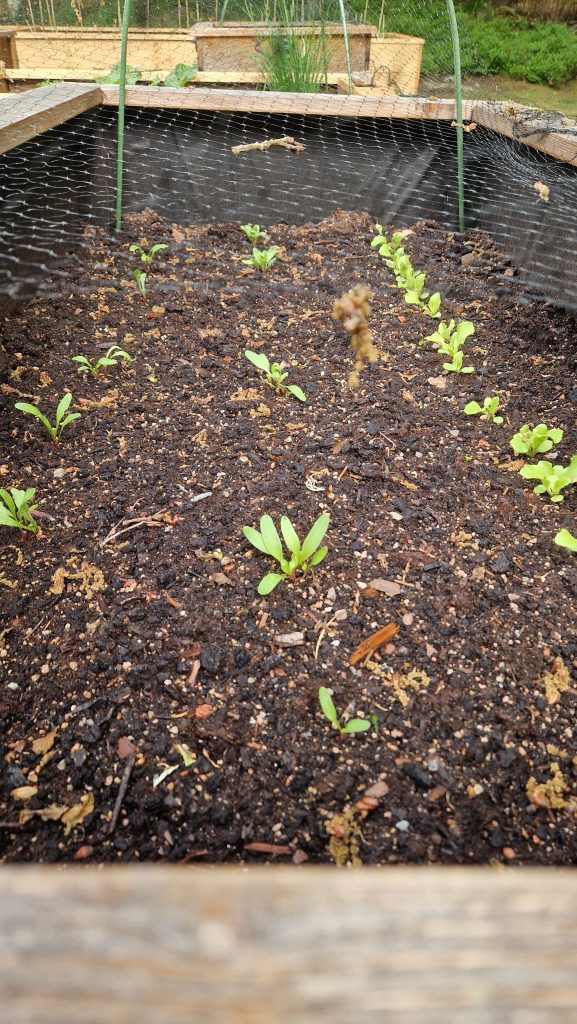
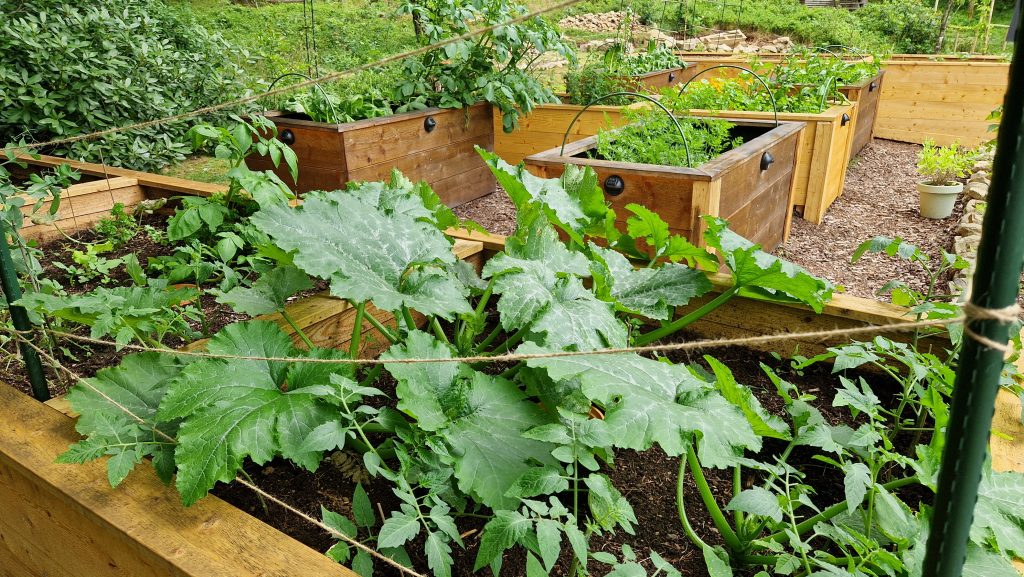
The following images are taken during the following months and we were really pleased with the results:
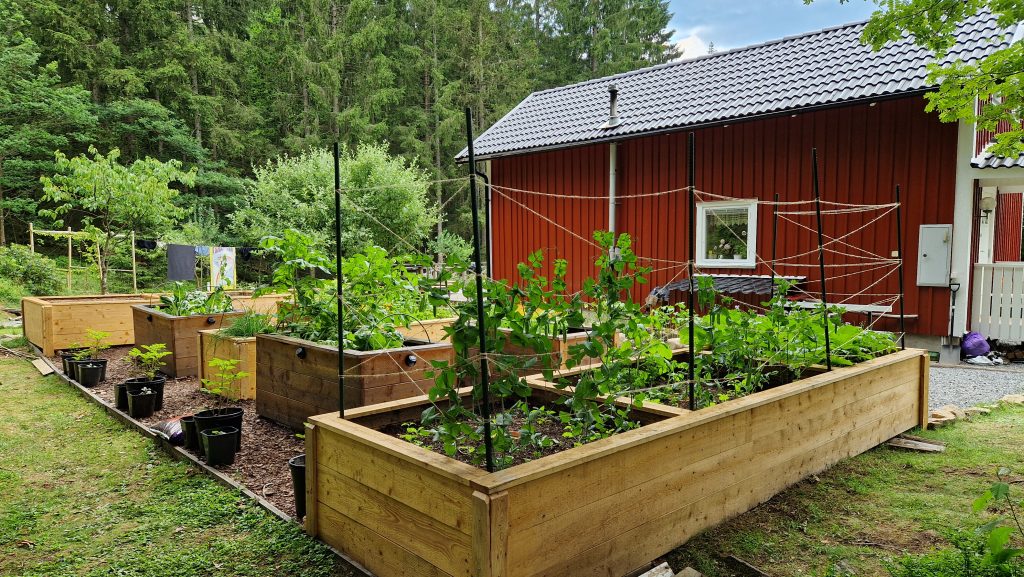
Of course, we need to learn a lot. We will make a huge amount of mistakes, we need to learn how do do things properly. There is as well the climate challenge as well and the watering challenge. I am planning of installing a solar watering system and I have interesting ideas abut that as well.
Anyway, We do hope that you had fun reading this. Feel free to ask questions if you have any. 🙂
P.S. Feel free to read how our first raised beds were created and how the whole idea started here:
https://redcottage.sasinka.se/redefining-our-garden
Kind Regards,
Maria & Aramis